On this instruction we will modify on Sony smartphone band combo profiles with Qualcomm software. Sony smartphones have software limitation and we will unlock this.
We have tables of supported CA combos per group:
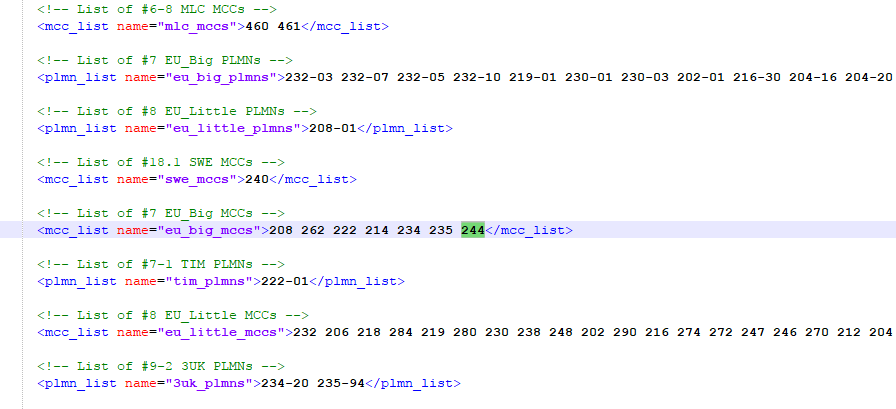
We will move Finnish MCC 244 to big_euro -list from little_eu so we get all Finnish band combos to use. On Sony XZ1 we will move Finnish MNC 244 to default-list and XZ2 we just remove limitation on eu_fin_mccs-list.
This instruction has tested:
- Sony XZ
- Sony XZ Premium and Sony XZ Premium Dual SIM (Does not work on Android 9.0 PIE anymore because QPST cannot access to modem)
- Sony XZ1 (Some differences) - If you have Android 9, you need Magisk Module to access to modem.
- Sony XZ2 (Some differences)
Before you follow this instruction, make sure you have already rooted Sony smartphone. Be careful, because this can make your device unusable.
Requirements:
- USB-C cable between your desktop and phone
- On desktop, you must have Platform-tools downloaded and drivers for Sony phone.
- QPST-application. Please find application from internet.
Please enable under Developer Tools USB-Debugging on your Android-phone. Then connect your phone with USB-cable to your desktop.
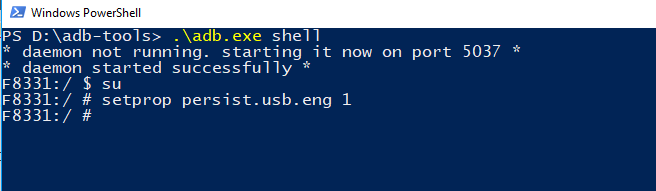
Open command line and run adb shell -command:
.\adb.exe shell
enable Qualcomm modem mode:
F8331:/ $ su
F8331:/ $ setprop persist.usb.eng 1
You can turn off mobem mode after with command
F8331:/ $ setprop persist.usb.eng 0
Then disable USB Debugging on your Android-phone and remove USB-cable from your phone.
Wait 10 second and enable USB Debugging again and plug USB-cable back to your phone.
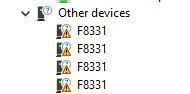
Open on your Windows-desktop Device Manager and you see now 4x F8311 (Sony XZ) undefined device.
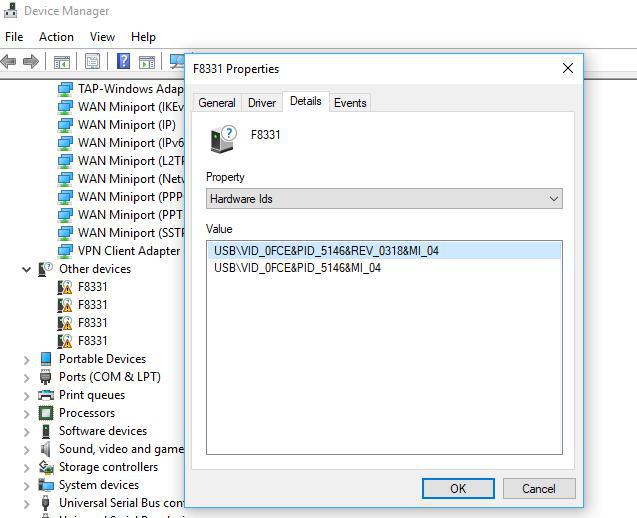
Find on Device Manager hardware id “MI_04”
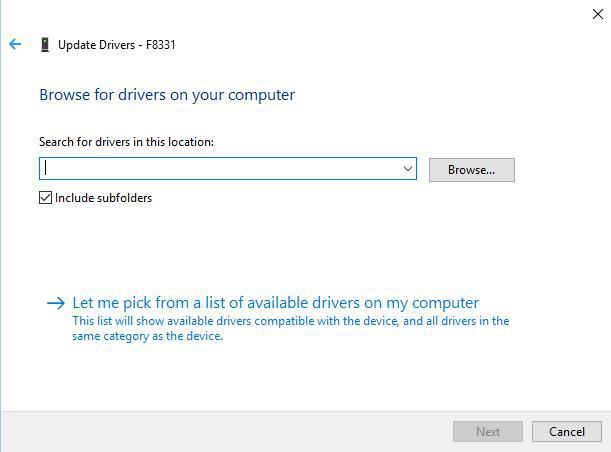
Install drivers with Update Driver-function. Download supported drivers here Mi5_Qualcomm_Drivers.
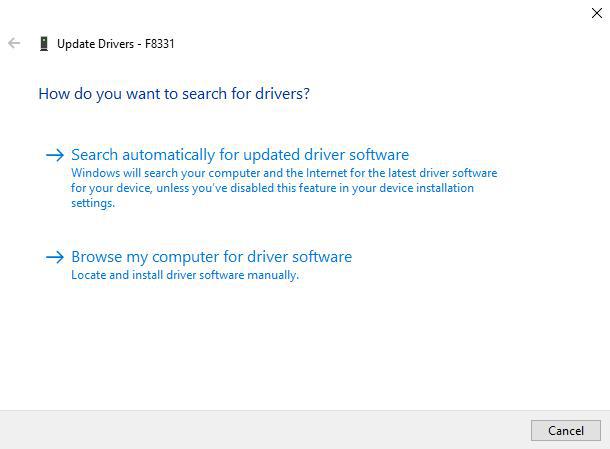
Select “Browse my computer for driver software”
Select “Let me pick from a list of available drivers on my computer”
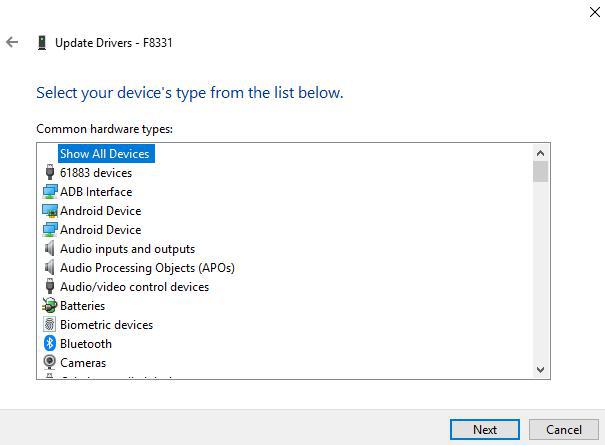
Select “Show all Devices”
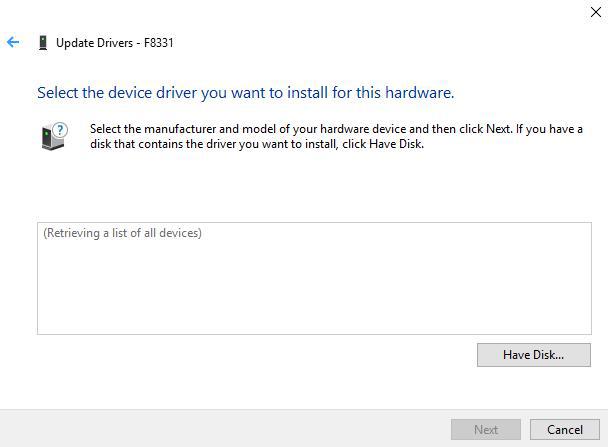
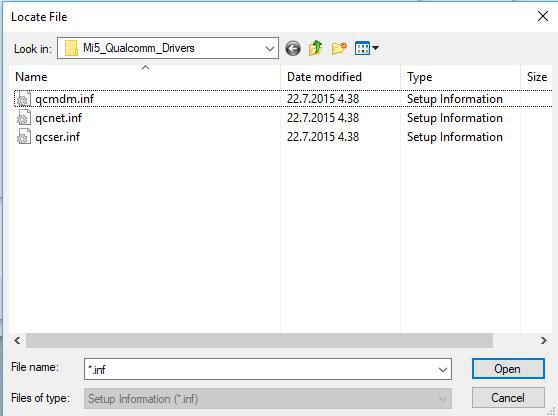
Select “Have Disk…” Find then from extracted ZIP-file qcmdm.inf driver-file.
Then select Qualcomm Android Modem 9018 -driver and Next.
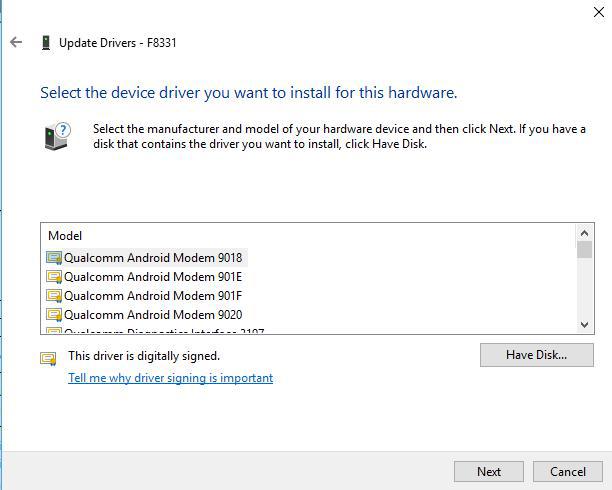
Now driver has installed and you can see that on modem section.

Open now QPST Configuration application.
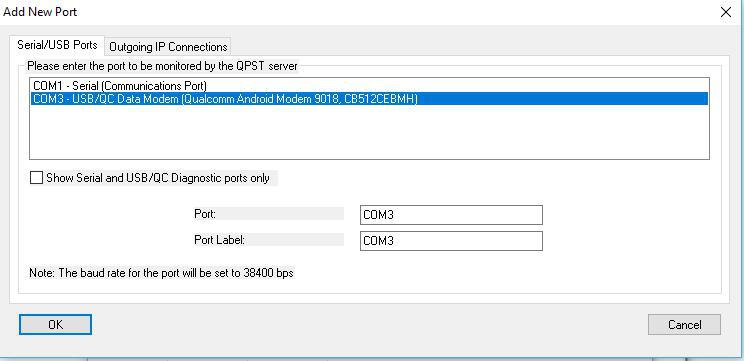
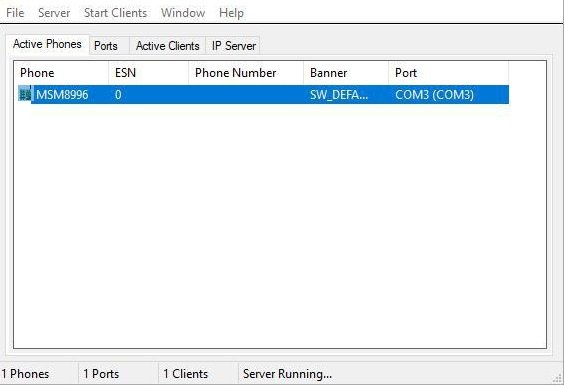
You should see now on active phone list your device. If you do not see on this list, you must add it to manually via Ports. Uncheck “Show Serial and USB/QC Diagnostic ports only” to see COM3 port. Then select OK.
Now you should see modem on active phone list. If you do not see phone on list, please make sure you do not have Network Signal Guru App same time open on your phone. It use same interface as QPST so cannot run same time.
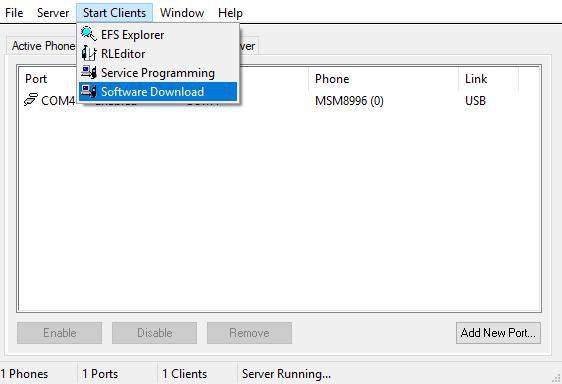
Let’s make now modem backup before we edit it. Open Start Client -menu and then select Software Download.
Go to Backup tab and select location with Browse button where you like save backup file. Start backup with Start button.
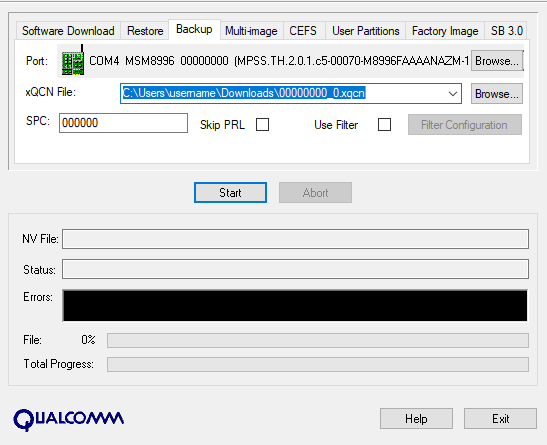
Now you have modem backup. Keep this file safe if you need anytime recover original settings.
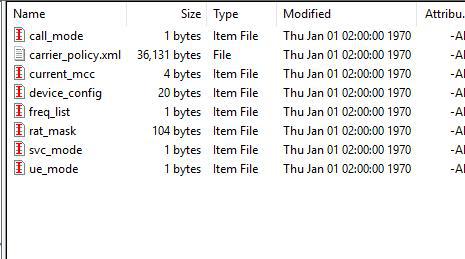
Now open on Start Clients menu -> QPST EFS Explorer. Select your device and wait a moment.
Then go to policyman directory and on directory copy carrier_policy.xml to your desktop. If you have Dual SIM-version, you should see also carrier_policy_Subscription01.xml file. That is for second SIM.
Open this file example on Notepad++ application and move Finnish MCC 244 from eu_little_mccs to eu_big_mccs section.
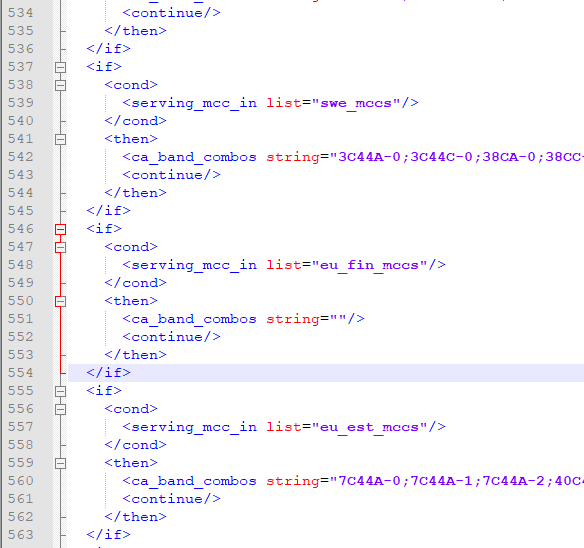
On XZ2 please clear ca_band_combos line on eu_fin_mccs (depends your MCC) like on screenshot. That enables all CA-combos what phone support.
Save file and then copy file back to your phone.
Close EFS Explorer and QPST-application and reboot your phone. You can confirm Band support now with Network Signal Guru application. We recommended disable US and Japan bands because we do not needed that in EU-area. We recommended enable only B1, B3, B7, B8, B20; B32, B38, B39, B40 and B41.
I recommend also disable CustomizationSelector application from Android phone on Android Settings -> Apps because this might change settings back when you switch SIM-cards
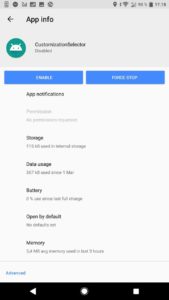
If you could not do that directly on App Info, then you need Disable Appliation [ROOT]-app. Open app and disable CustomizationSelector.
EXTRA: Enable 256QAM and 64QAM on Sony XZ and Sony XZ Premium
This required also root and does not work anymore on XZ Premium with Android 9.
Download disable_cap_ies-30-6-2018 and extract that. Connect back to your phone with USB to computer and open EFS Explorer. Backup original files to your PC.
Move disable_cap_ies file with EFS Explorer to /nv/item_files/modem/lte/rrc/cap/disable_cap_ies
Move lte_category file with EFS Explorer to /nv/item_files/modem/lte/common/lte_category
If you have Dual SIM-model, then copy also *_Subscription01 to same location and replace original files. That enable 256QAM/64QAM also on second SIM slot.
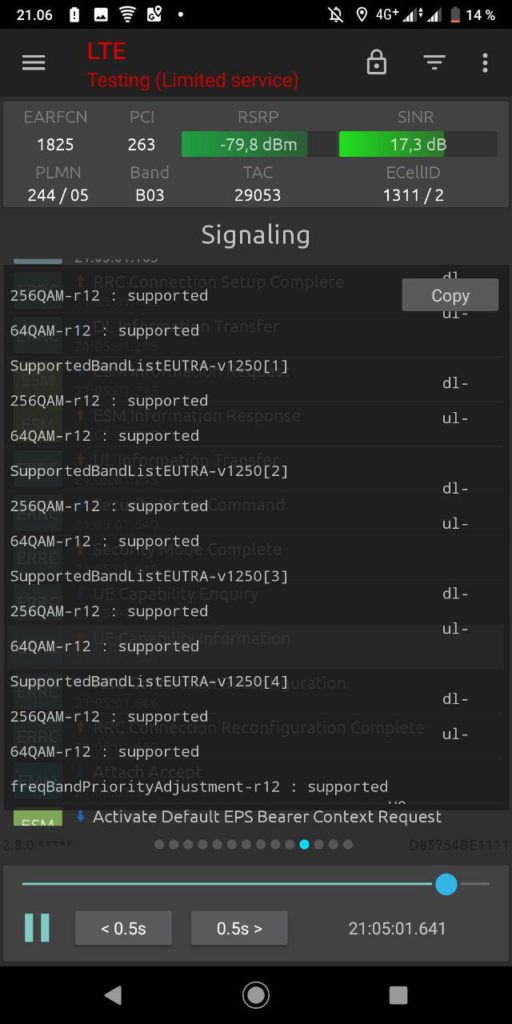
Reboot your phone. You can confirm 256QAM and 64QAM support with NSG application. Please check your own ISP support this also.
EXTRA: